
DIY - I TRANSFORMED MY WAIST SHAPER INTO A BELT
- Nma

- Mar 22, 2020
- 1 min read
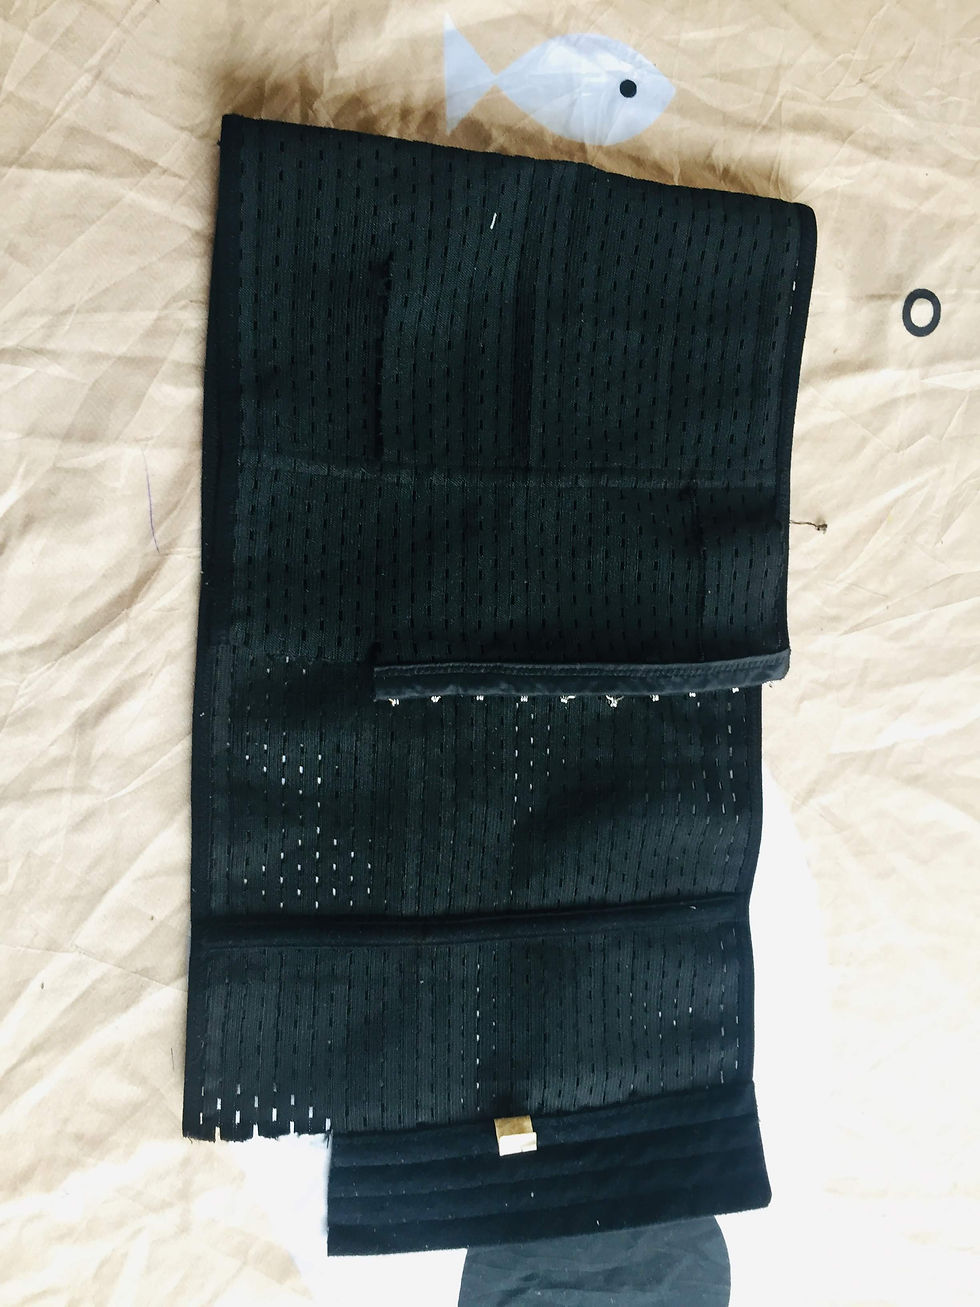
The life of a creative serial DIYer is so much fun! I cannot even tell you what inspired this DIY because I have no idea. Basically, I had this waist shaper/tummy belt for a little while and it started to tear so I got a better one. Still I refused to let this one go just like that(lol). I once used a part of the hooks to fix a bra(this explains the missing parts you will see in the picture below).
Anyway one bright and early Saturday morning, I woke up with a light bulb 💡 above my head and then set to work. Join me...
Materials
Waist Shaper

Scissors
Pliers

Studs

Glue

3 Easy Steps...
1. Lay the shaper flat on a table and cut using your desired belt width measurement.

2. Use a plier to cut through the iron boning.

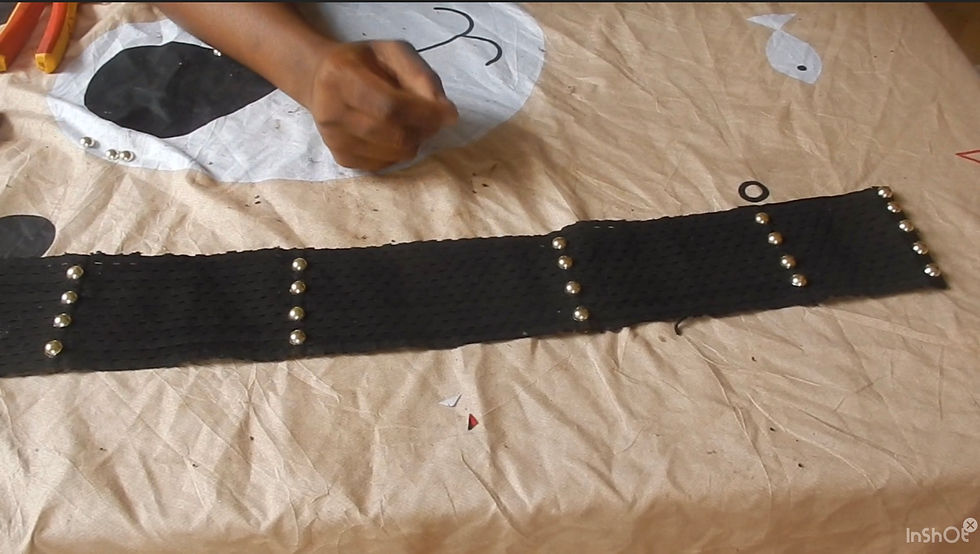
3. Design as desired with glue and stones.
3 Things to Note
- In step 1, cut off from both ends of the width of the shaper so that the finished belt has a uniform look around both edges.
- Please do not use a scissors too cut through the iron boning. If you must, use an old scissors so that your fabric scissors doesn’t go blunt.
- When designing, don’t apply the appliqué on spots that stretch. Only apply the appliqué to the non stretchy areas like I have done.
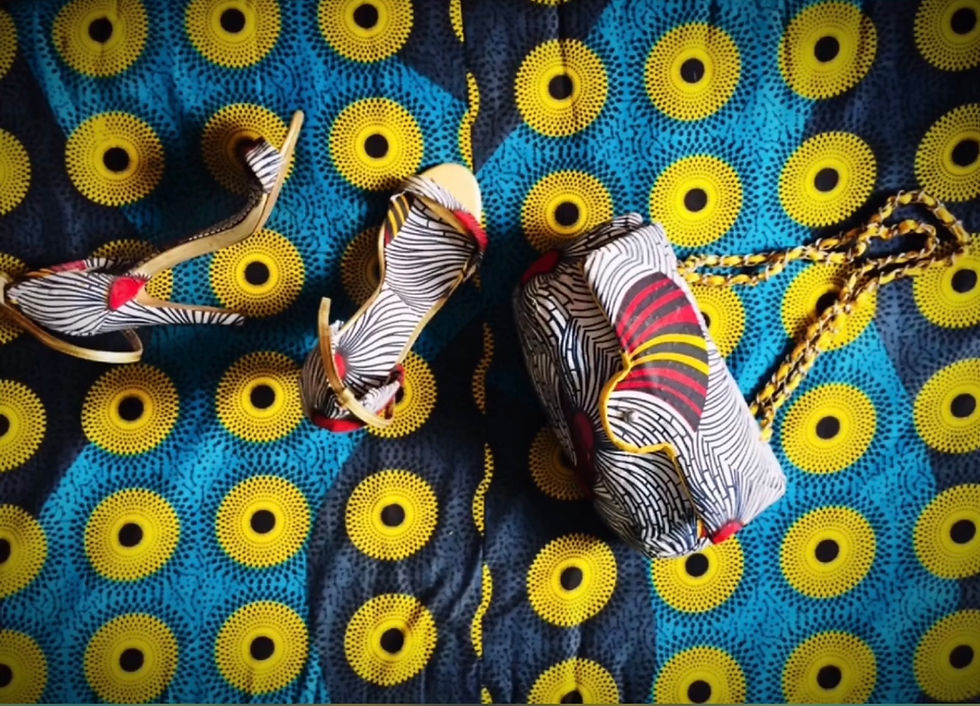
Final look!

Please watch the video below for more details.
Enjoyed this blog post? Share it with a friend!
Replicating this DIY? Tag me on the gram!
Have any other questions? Leave them below and I’ll be sure to respond!
Roll the credits xx

Comments